Here at Earth Henna™, we pride ourselves on how easy it is to use our henna temporary tattoo kits. It took us a long, long time to create this kit. By the time we came up with it, two other companies had already rushed to market with their own henna tattoo kits—even though we were the ones who introduced henna tattoos out here on the West Coast. OK, fine! Maybe you were a little slow on the uptake? I can see how you would think that, but really, that was not the case. Having painted thousands of people in our studio, we knew how tricky henna could be. We just wanted to make sure we got it right the first time. Sure enough, those other kits are long gone and 20 years later…but we’re still around!
So, if you’re looking for a super easy way to adorn yourself with temporary body art, we can guarantee you that it doesn’t get any easier than the Earth Henna Temporary Tattoo Kit. Now, you may be thinking that it’s a lot easier to decorate yourself with flash tattoos rather than getting a mehndi design. And that may be true. We love flash tattoos too, and have even sold them on our website. But henna tattoos are definitely not flash tattoos. You can’t just slap a henna tattoo on your body. It’s artwork. Art is important stuff; of course it takes more time and energy to create a henna tattoo. But you knew that. Which is why, I’m sure, we’ve been seeing an uptick lately in people buying pure henna powder on our site.
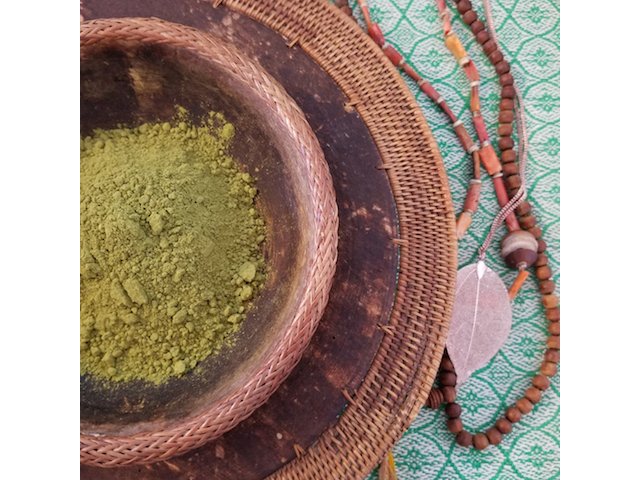
The same fabulous, strong-color henna that comes in our Earth Henna kits is available for purchase, in case you want to make your own henna paste! Yes, it’s more work to do it yourself, but there’s something so satisfying about creating your henna tattoo from start to finish, when you’re in the mood. So, for those of you that may be in that headspace, I wanted to offer you a reprint of the basic henna paste recipe that’s in my book, MEHNDI, The Art of Henna Body Painting.
There are hundreds of henna paste recipes out there, with a host of interchangeable ingredients that can be added to get the darkest color possible or to get the right, silky consistency. These include coffee, tea, okra slime, cloves, lavender oil, lemon juice, dextrose, tamarind, yogurt, honey—the list goes on and on. But if you start out with excellent quality henna powder, you will get great color. So, here’s my basic henna paste for temporary henna tattoos without any fuss:
Ingredients:
- 1 cup of water
- 2–3 tablespoons black tea
- 3 teaspoons powdered and sifted henna
- 1 teaspoon eucalyptus oil
Directions:
- Bring water to a boil.
- Add black tea.
- Let steep overnight.
- Pour tea through strainer to avoid sediments.
- Pour sifted henna into plastic bowl.
- Add eucalyptus oil to powder (do not mix yet!).
- Add 2–3 tablespoons of tea to powder, one tablespoon at a time (depending on your henna powder, you will need more or less tea).
- Using back of metal spoon, press mixture into sides of bowl to get grittiness out of paste.
- Cover bowl with plastic wrap and seal shut with airtight lid (e.g., a Tupperware container).
- Allow paste to set for 12 hours.
- Keep away from light or heat (e.g., inside a closed kitchen cabinet).
- Test consistency by squeezing paste into applicator bottle or cone and applying to skin (if using bottle, pour paste into a plastic sandwich bag and cut tiny hole at tip).
- If paste is too dense, add a little more tea or water, a few drops at a time; if too runny, add more henna powder.
Your paste is ready to use! Without a natural preservative, the henna paste will maintain its dyeing properties for 3 days only, if refrigerated. If used after 3 days, you will get much lighter color.
If you’re not in the mood to make your own henna paste, of course, you know you can buy the best henna kit on the planet at Earth Henna. If you spend $35, you get FREE SHIPPING! And often we’ve got some fantastic bundles of popular products, so check our website often (or subscribe to our newsletter for the best deals).
Have fun!


